Showing posts with label technique. Show all posts

Monday, July 17, 2017

#SSINKTC47

Hello everyone!  I hope you had a wonderful weekend!  I spent most of the weekend just relaxing with my husband.  It was such a nice change from our usually jam packed schedule!

Today, at Stylin' Stampin' Inkspiration we have a Technique Challenge starting.

I was a little apprehensive about, and intimidated by this technique to start with.  But I am so glad I tried it out!  It is fun, and also an easy way to make up a whole set of coordinating cards!

Here is my card:

I used the Pear Pizazz, Rose Red, Calypso Coral, and Crushed Curry reinkers with the Ink Spray & Smash technique to create my background.  I then stamped images from the Paisleys & Posies stamp set over the background, using Archival Basic Black ink.  I dressed it up with some Pear Pizazz shimmer ribbon, and Black Mini Sequins, and a Happy Birthday greeting from the Happy Birthday Gorgeous stamp set.

I hope you will head over to the Stylin' Stampin' Inkspiration blog and see what the other design team members did with this technique, and maybe even play along with the challenge yourself!

Thanks so much for stopping by!
~Nichole

Monday, December 26, 2016

SSInk Technique Challenge - Masking

Hello everyone!  I hope you had a great Christmas!  It is Monday, and that means another great challenge from Stylin' Stampin' Inkspiration!

Today, we have a Technique Challenge for you.  We are Masking.  I love masking.  The ability to make rows of images, without overlapping them, or making them muddy just makes me happy. 

Here is my card:

I *love* the Jar of Cheer stamp set from the Holiday Catalog - and am very sad that it is retiring.  I knew I needed to use it at least one more time.  So today, I am sharing a winter birthday card.  

I started by Stamping the middle jar, and the snowman insde the jar.  I used the coordinating Everyday Jar framelits to cut out a jar using a post it note.  I used that cut post it note to cover the jar I stamped, and then stamped a second and third jar on either side of the first.  I also stamped the two trees while the middle jar was covered with the post it note.  I did the same thing to make the two outer jars.

Once the jars were stamped, I used my Tempting Turquoise Stampin' Write Marker to color in the hat, and part of the scarf on the snowman.  I also use the Pumpkin Pie marker to color his nose.


You can see in this second picture that I used Clear Wink of Stella to add some snow to my green trees, and also to the pile of snow that the snowman sits on.

I hope you'll join us for this fun challenge, over at SSInkspiration!
Thanks so much for stopping by!
~Nichole


Product List

Tuesday, November 8, 2016

Gingerbread Pleated Skirt

Hello everyone!

Today I'm sharing a gingerbread pleated skirt card that I made.

Here is my card:


I started with a real red card base.  I added a Whisper White mat, and then worked on my pleated skirt.  I made my pleated skirt with a designer series paper from the Candy Cane Lane pack.  I wanted to make the transition from the dsp to the whisper white look a little more natural so I added a strip of washi tape, and some real red bakers twine.  Then, I just stamped my greeting and added my punched out gingerbread man.

Thanks so much for stopping by!  I
~Nichole


Product List

Tuesday, September 27, 2016

#SSInkTCC37 - Tiled Effect

Today, I'm playing along with the challenge posted over at SSInk.  This week they have a technique challenge. I love this technique!

Here's my card:

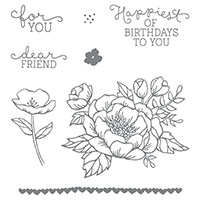
I did a 1/2" grid for my Whisper White, and then stamped the large flower from Birthday Blooms in Basic Black on top.  I water-colored the image using my aquapainter and some reinkers.  


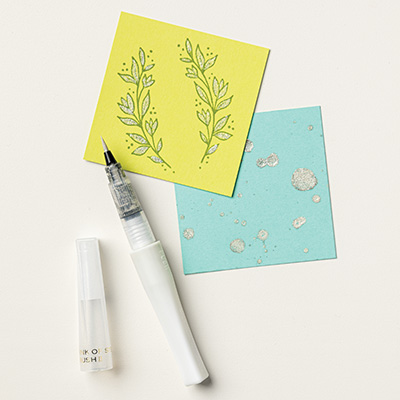
Just for fun, when my image was dry, I highlighted some of the flower, and all of the words with my clear Wink of Stella pen.

Thanks so much for stopping by!
~Nichole


Here are the products I used on this card:

Wednesday, February 11, 2015

Wax Paper Resist

Hello there, friends!  Thanks for stopping by.

Today, I am sharing two of the cards from my last Technique Night Class.  Technique Night is a class I offer every month.  We learn two new techniques, each with it's own instruction sheet, and we also make 4 cards.  (2 from each technique.)

One of the techniques we learned in February was Wax Paper Resist.  I had not done this technique before.  It was  lot of fun.  (Just be sure your iron isn't too hot, and that your ink pad is freshly inked!)


This is one of our wax paper resist cards.  I just love this.  I chose the color combination from the color coach.  I am surprised by that fabulous little tool each time I use it.  On the cards from the coach, I am often unsure of how it will all look together.  But then, once the card is finished, I am pleasantly surprised.  I was happy to use my new Ornate Tag Topper punch for the first time.  I love how using it on both ends makes this adorable shape, ready for mounting to any card!


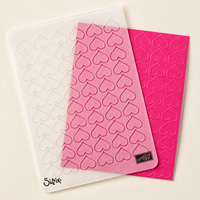
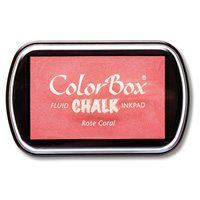
This was our second card.  I love it for many reasons.  It uses some of my favorite products from the Occasions Catalog.  I just love the Happy Hearts embossing folder.  I love both sides of it, and always struggle on which side to pick.  LOL.  There is *no* wrong side to an embossing folder!  This card also features our new chalkboard paper, and chalk ink.  I really like how the chalkboard paper feels.  It is quite a bit heavier than our regular card stock, and on one side has a smooth finish that feels just like a chalkboard.  The inks are great too.  We have them in three colors right now; Aquamarine, Rose Coral, and Yellow Citrus.  For this card, I used the Rose Coral.  I love that these chalk inks have just enough color in them so you can tell it is there, but the ink is still opaque enough to really look like chalk.


You can see the opaque-ness of the chalk ink here in this photo.  It is just so fun to work with!

Well, that is all I have to share for today.  I hope you are having a great week so far!

Thanks for stopping by!
~Nichole

Here's what I used on the Awesomeness card:  (Plus Blushing Bride Ink used for the technique.)